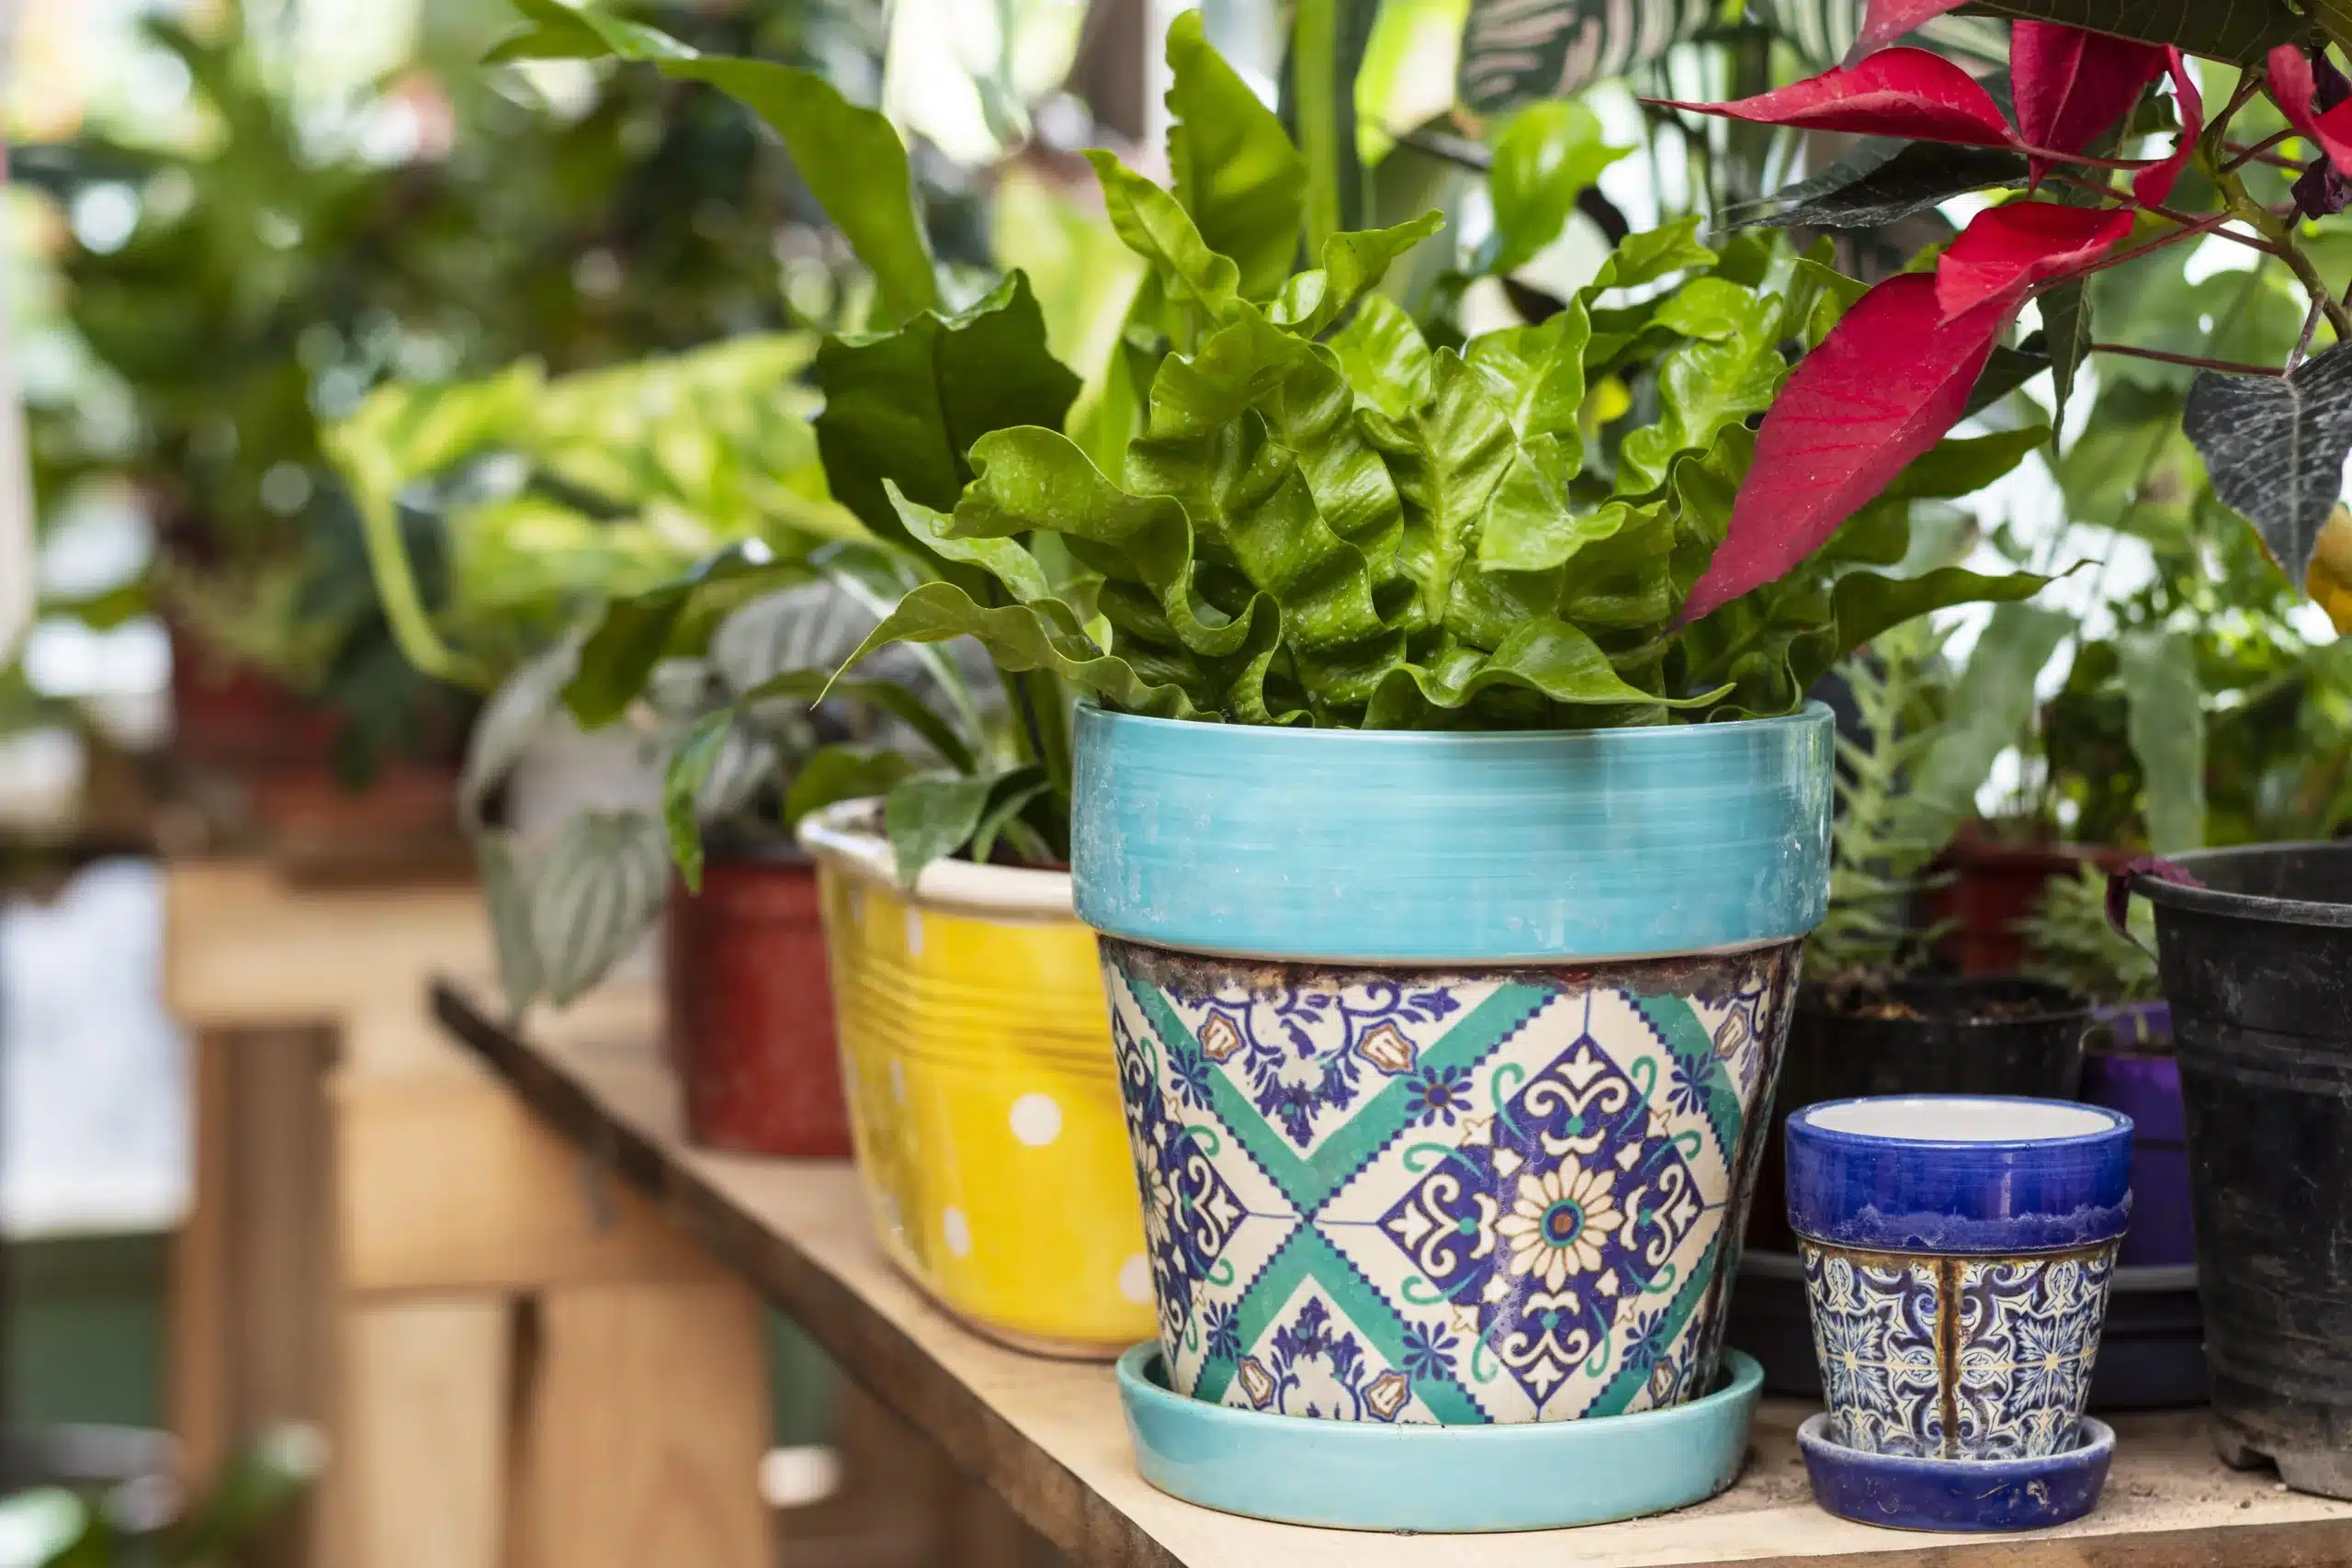
Do you want to enjoy a lush, lively balcony without having to worry about manually watering all your pots? An automatic irrigation system is the perfect solution! In this guide, I will show you how to install an automatic irrigation system for your balcony with 8 or 10 pots, using Hidromaronline products to facilitate the process.
Step 1: Choose your irrigation components
For an automatic watering system on your balcony, you'll need components such as garden hoses, drippers or sprinklers, and a watering timer. At Hidromaronline , we offer a variety of products designed specifically for balcony watering systems. You can explore our selection of garden irrigation products at the following links:
Step 2: Plan the layout of your pots and irrigation components
Before beginning installation, decide where you will place your pots and how you will distribute the watering components. Make sure all your pots are within range of the irrigation system and that the components are correctly positioned to provide even coverage.
Step 3: Install your irrigation system
Once you have planned the layout of your pots and irrigation components, it is time to install your system. Follow the instructions provided with each product and make sure you connect everything correctly. If you are using irrigation hoses, cut the length needed to reach each pot and attach drippers or sprinklers as needed.
Step 4: Set up your irrigation programmer
For complete and automated control of your irrigation system, we recommend the HidromarOnline 4-Station Irrigation Controller . This automatic irrigation controller is ideal for indoor installation and features advanced capabilities such as:
- Irrigation time per station from 1 to 99 minutes.
- Minute-by-minute increments.
- Individual watering days or every 2 days for program A, or interval up to 14 days.
- Rain program that allows delaying irrigation up to 3 days.
- Fail-safe program, which guarantees that irrigation is carried out even in case of loss of programming.
Step 5: Test and adjust
Once you've set up your irrigation system, run tests to make sure it's working properly. Watch irrigation in action and adjust scheduling or component layout as necessary to ensure adequate, even coverage for all your plants.
With these simple steps, you can install an automatic irrigation system for your balcony with 8 or 10 pots and enjoy a green oasis without the effort of manually watering! Explore our selection of garden irrigation products and get started today.